Rich Moss 1990 XJ6 2.9.

Non-Rover chat and tech stuff

Moderators: guru, SJG

User avatar
Richard Moss
Site Owner
Posts: 13630
Joined: Fri Aug 29, 2008 10:48 pm
Location: Al Ain, Abu Dhabi
Contact:

Rich Moss 1990 XJ6 2.9.

Post by Richard Moss » Sat Aug 30, 2008 12:31 am

1990 XJ6 2.9 auto. Basic spec, 129,000 miles, broken aircon, some rust but just £250 with 11 months MOT.

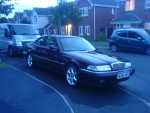
Some pics after a wash and polish.

Image
Image
Image
Image
Image
Image
Image
Image
Image
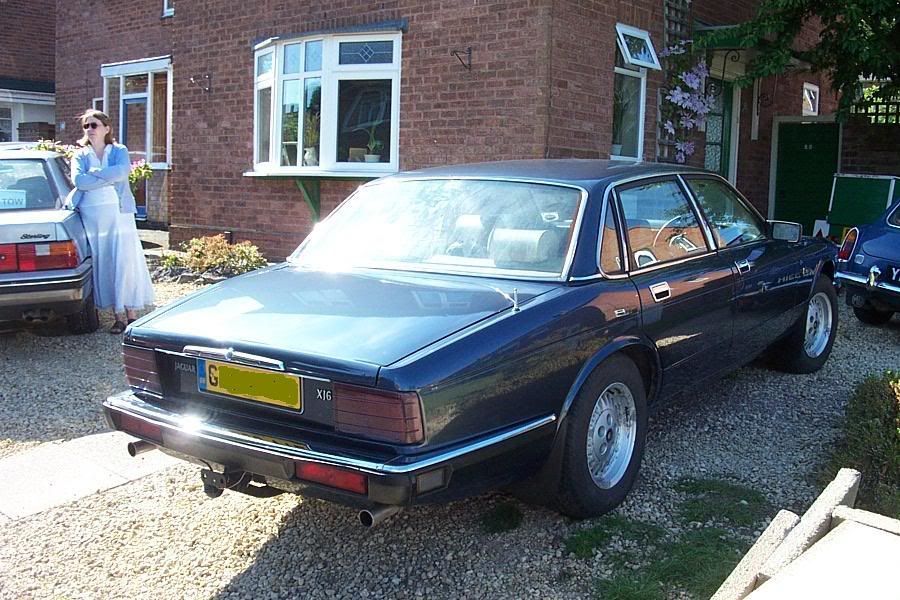
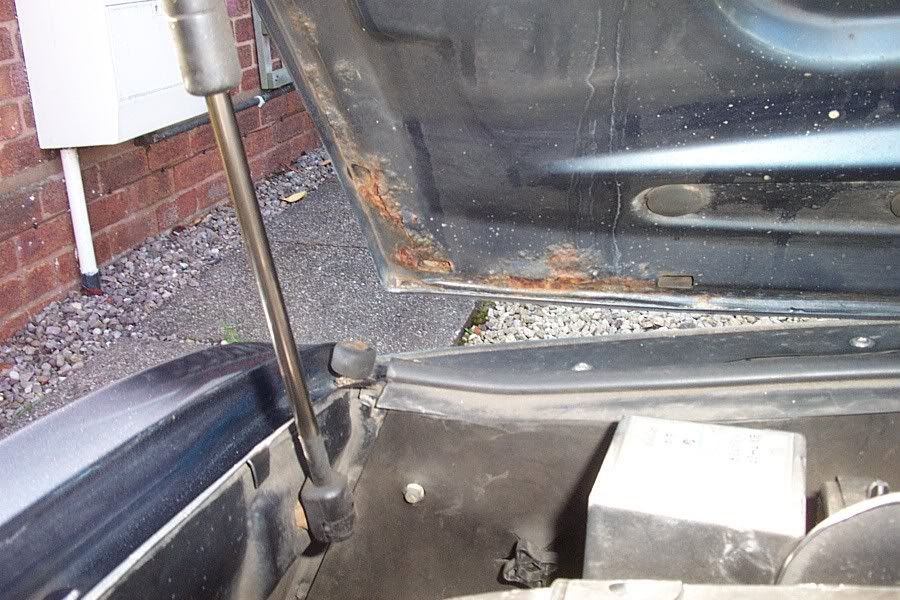
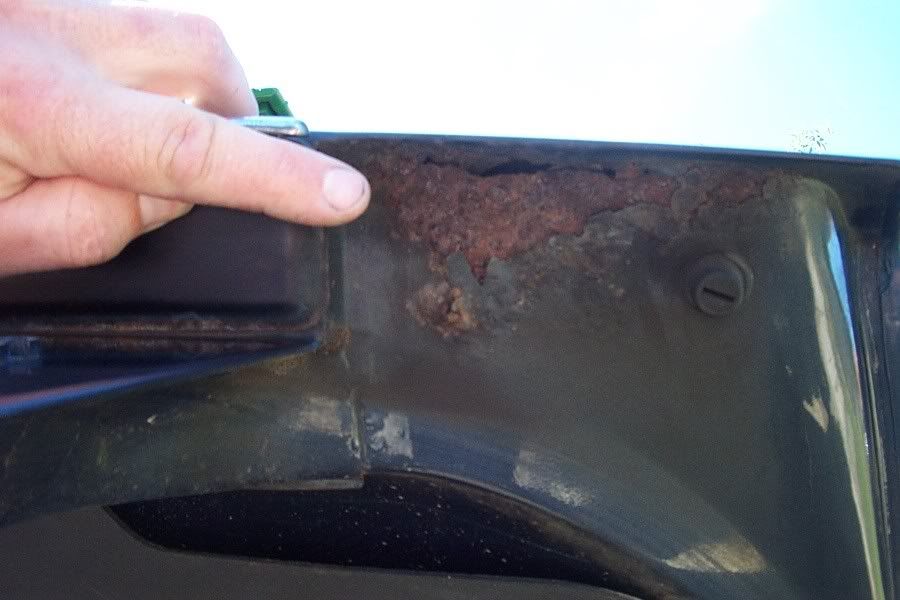
Those last two are the bonnet and boot respectively - the only real trouble areas.

Image
Image
Image

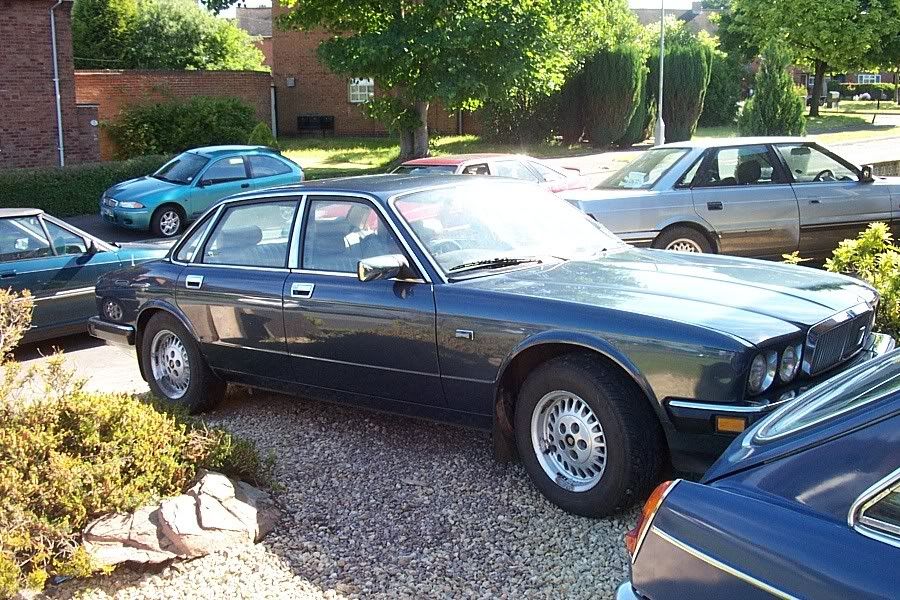
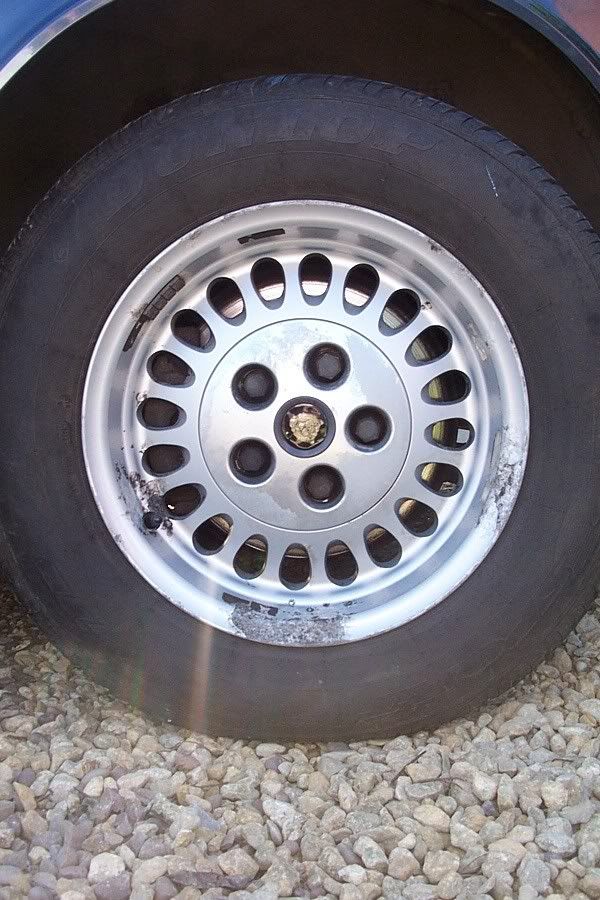
Scabby wheels, though. At least the tyres are all good!
Image

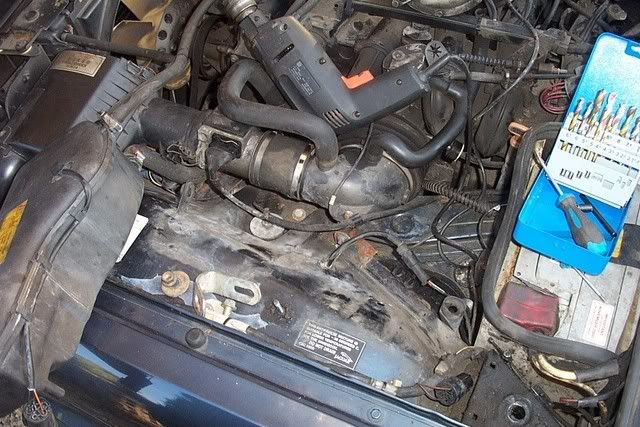
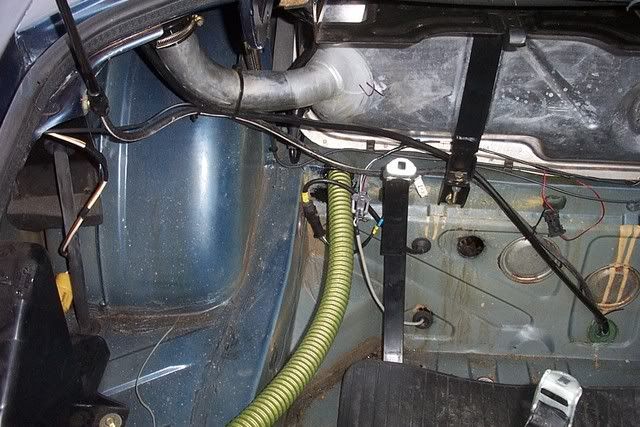
The wash and polish has made a hell of a difference. It may not be up to show standards, and I have still to do the glass, but I removed at least a bucket full of mud from under the wings and arches (no exaggeration) and found the arches to be in good nick.

There is a little parking damage to the left rear arch and door (that didn't show through the muck!) but that is no serious either, really.I also found £3.49 under the seat - about 12 miles worth of petrol!

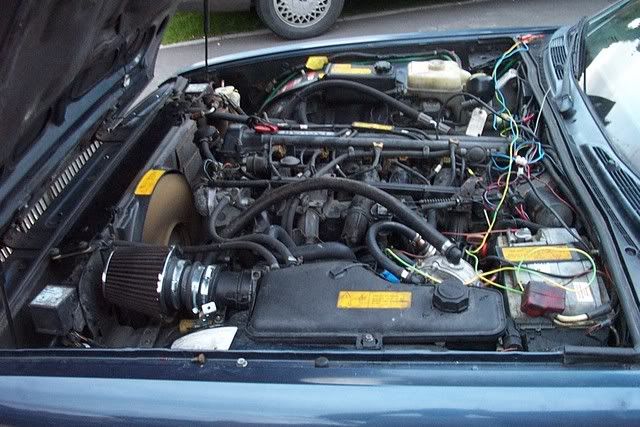
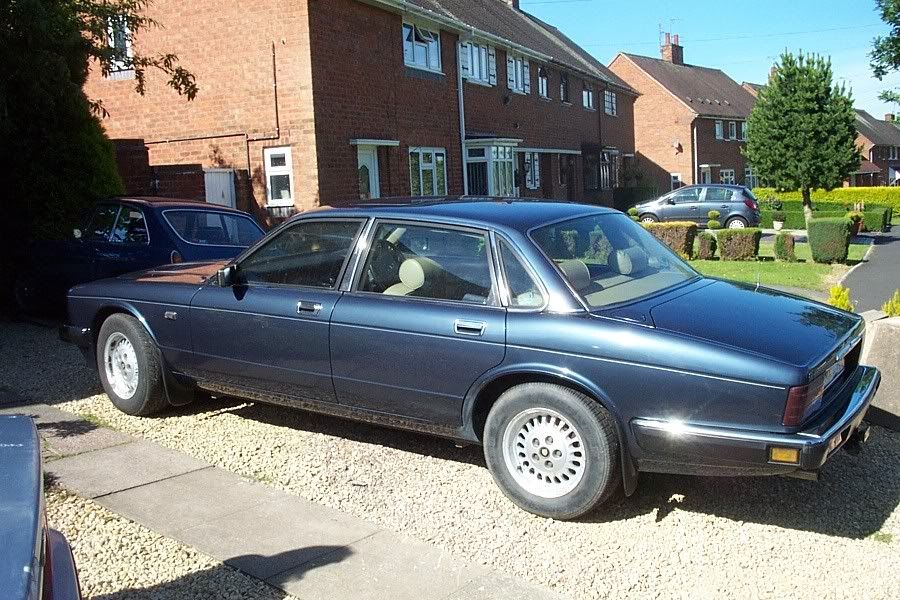
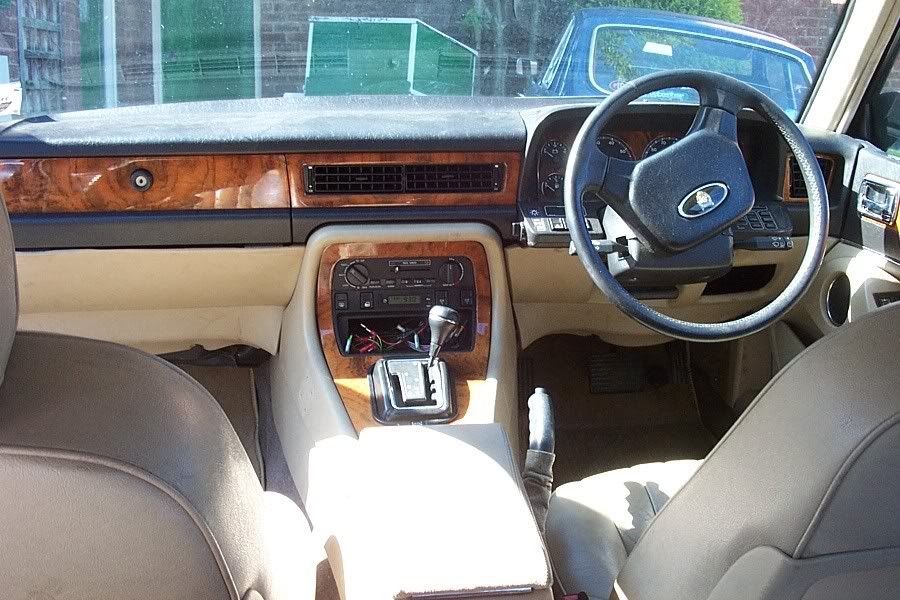
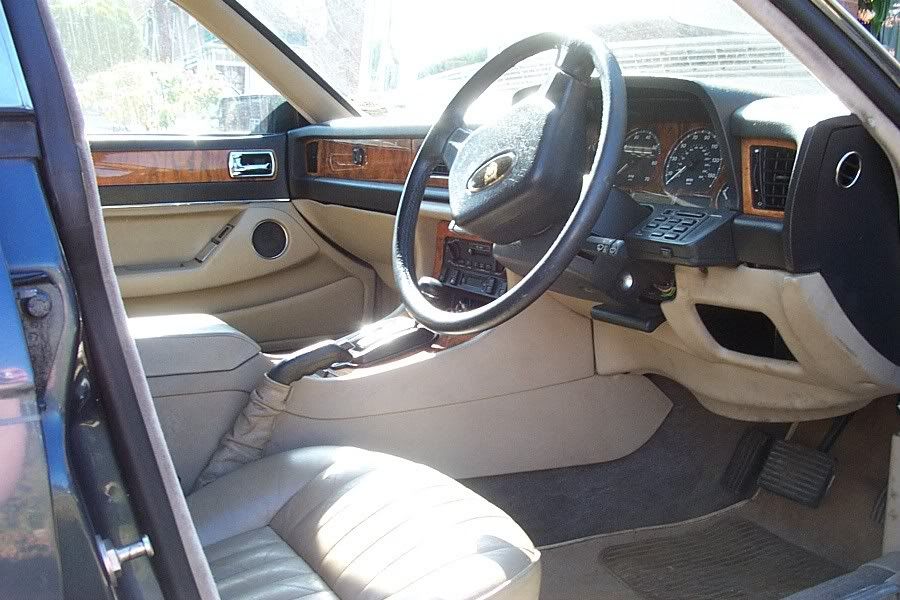
It drives nicely, smooth, quiet and very comfy - no road burner but able to hold its own. It's pretty basic compared to a Rover Sterling but feels nice and solid.

A few things need sorting:

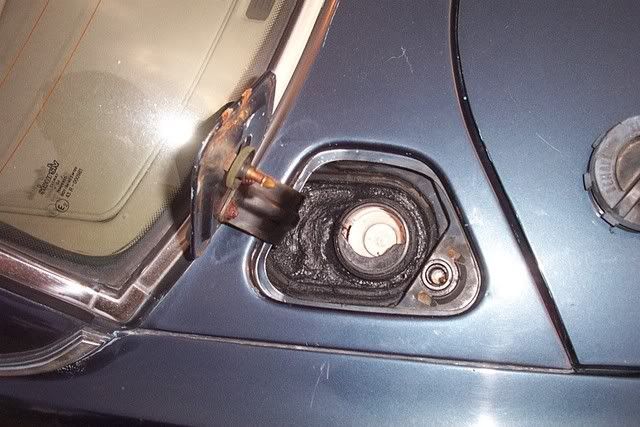
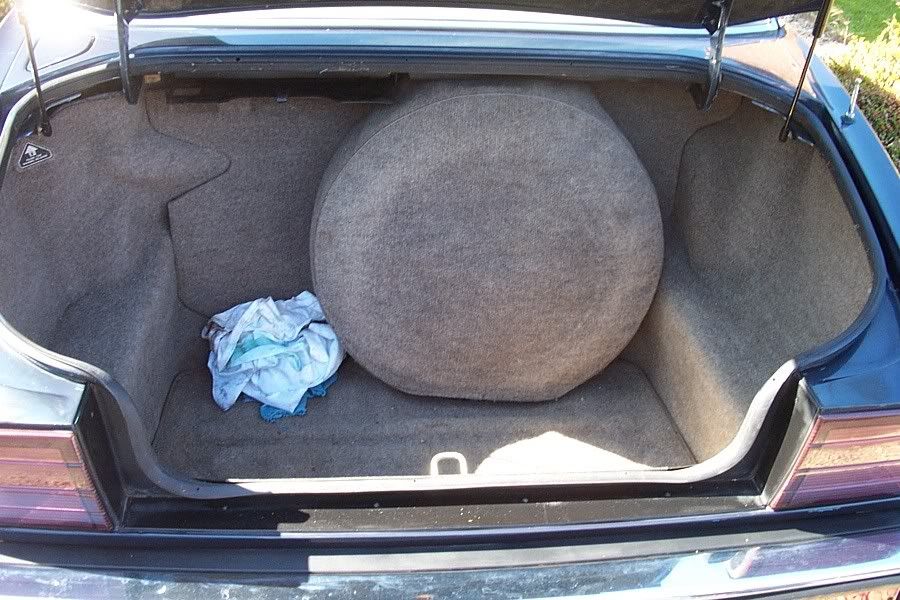
Some unexpected rust in the edges of the boot and bonnet (no big surprise) and not too bad.
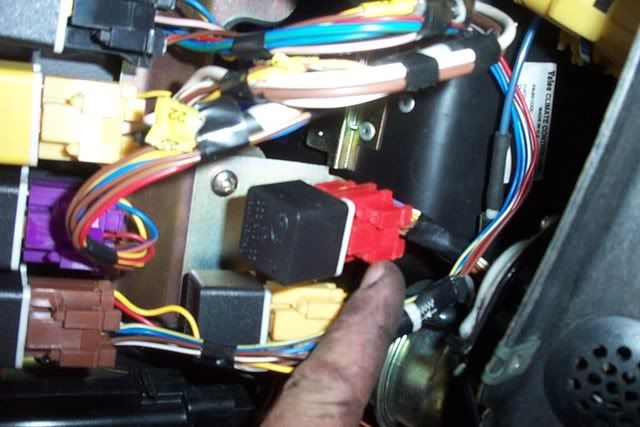
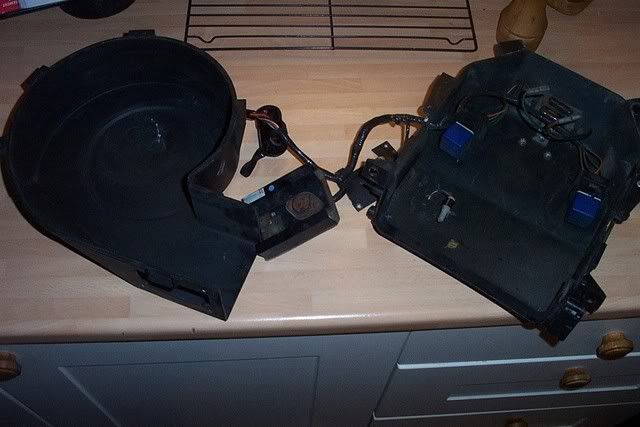
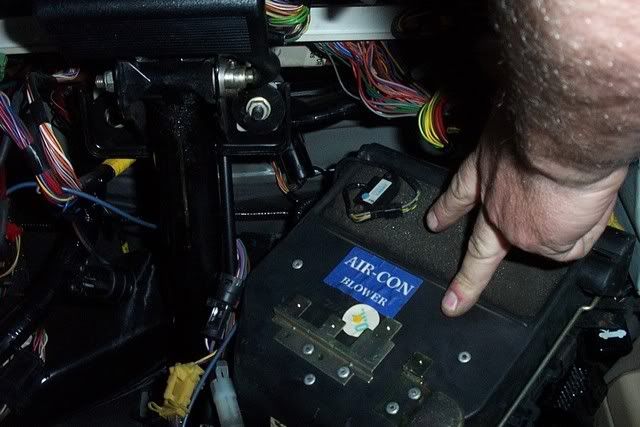
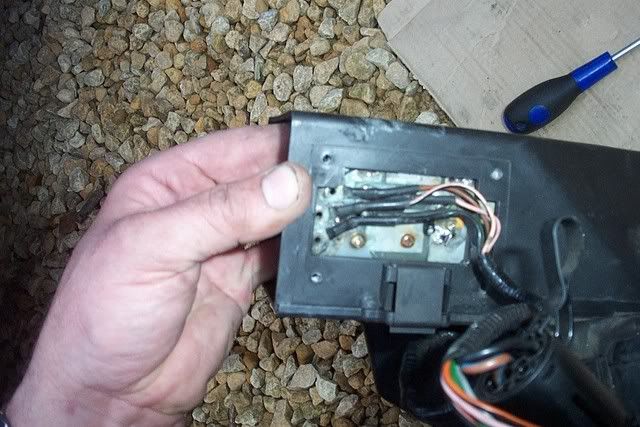
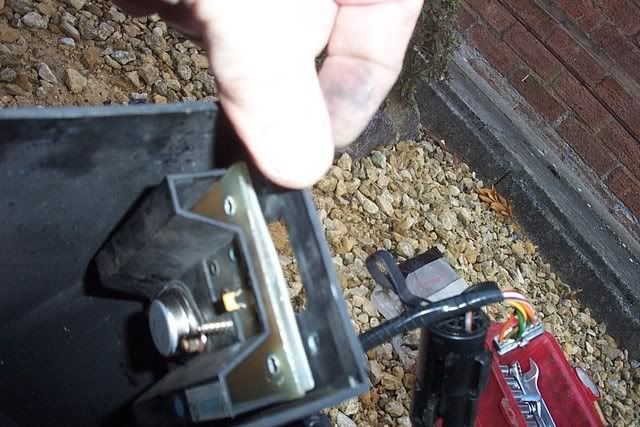
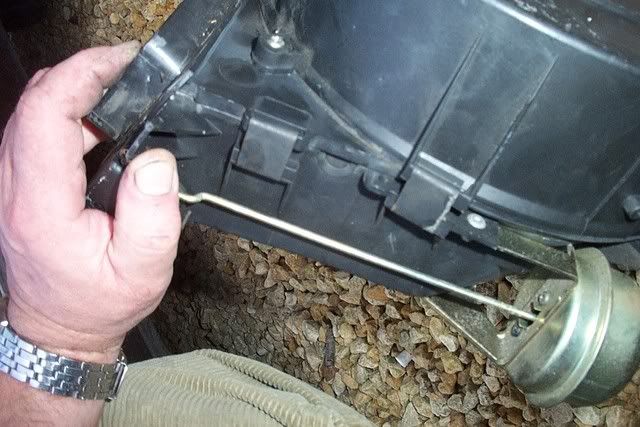
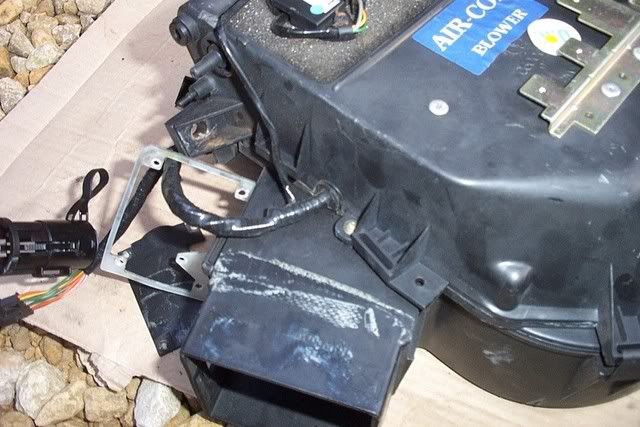
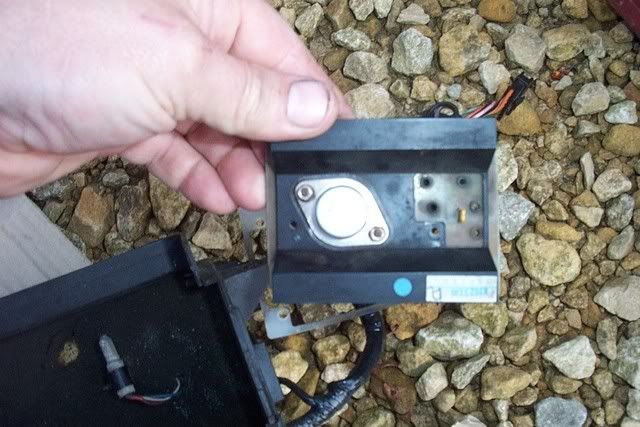
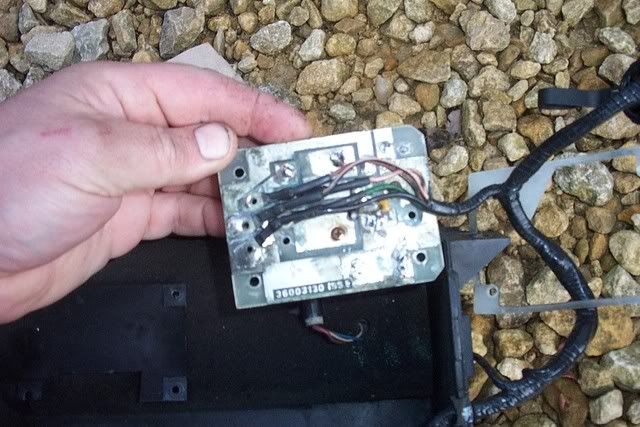
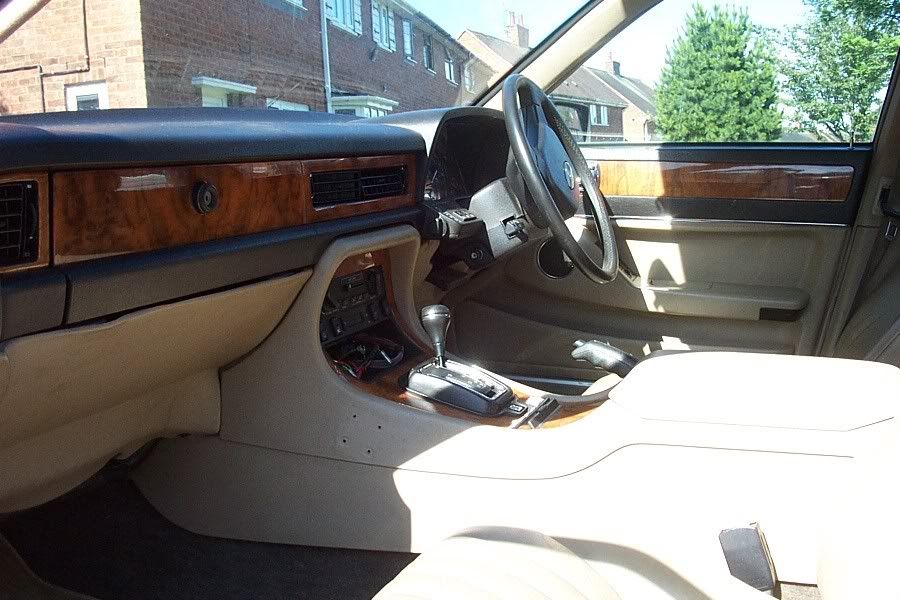
No air to the centre face vents above the heater controls.
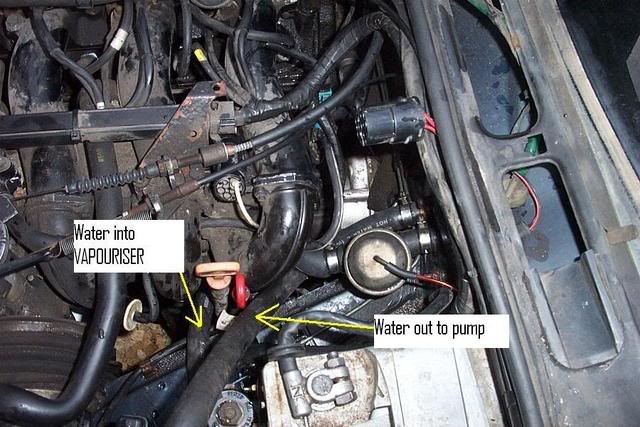
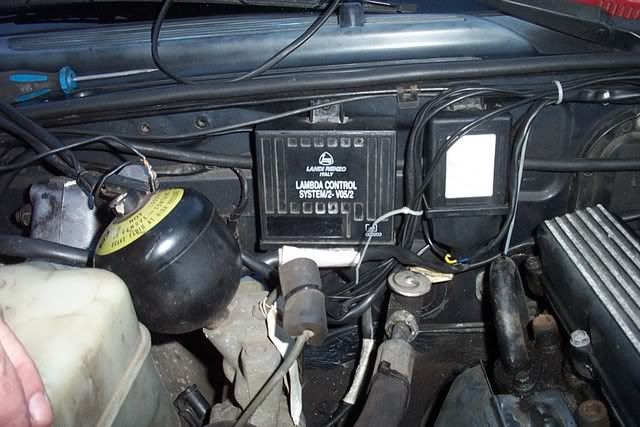
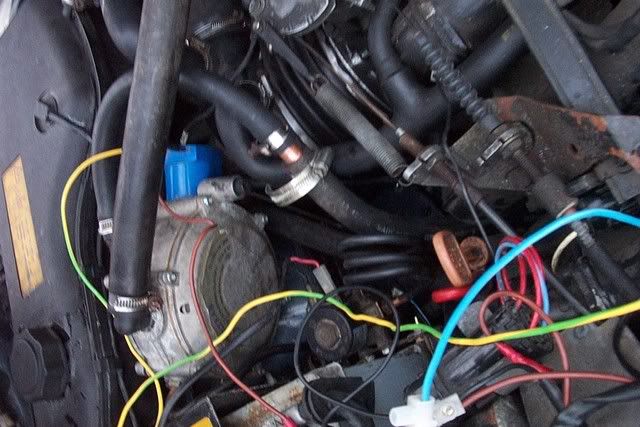
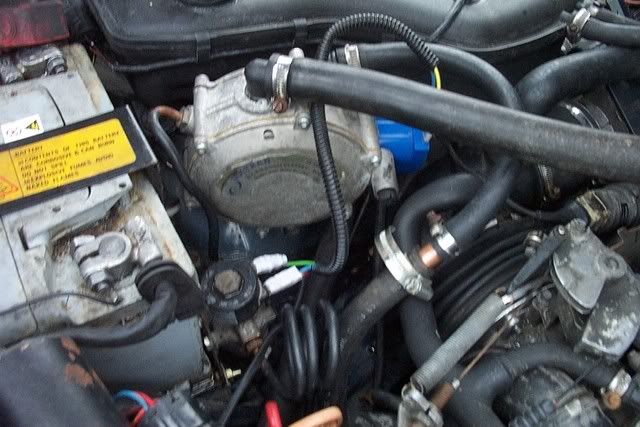
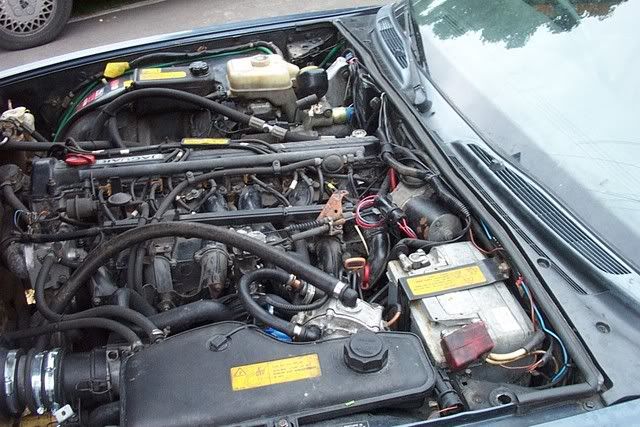
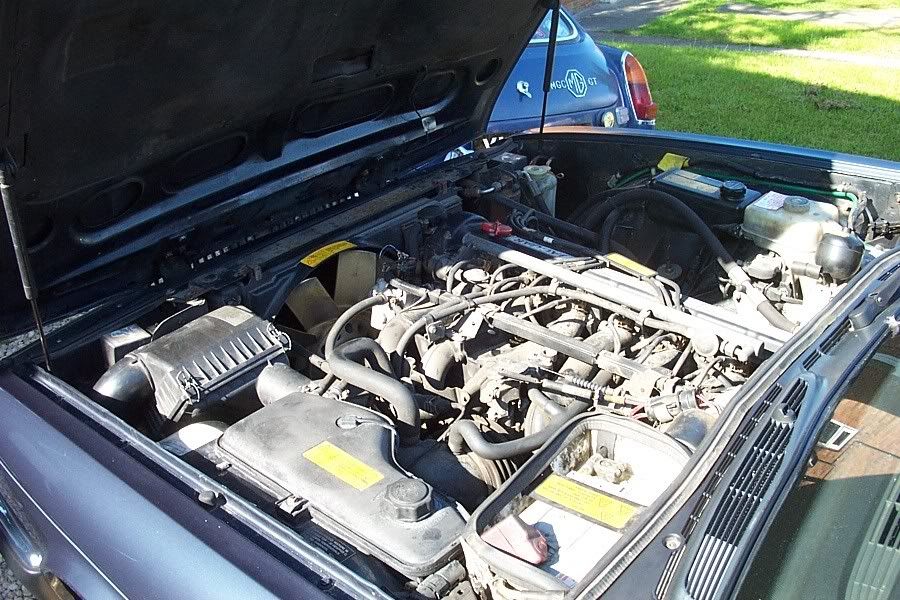
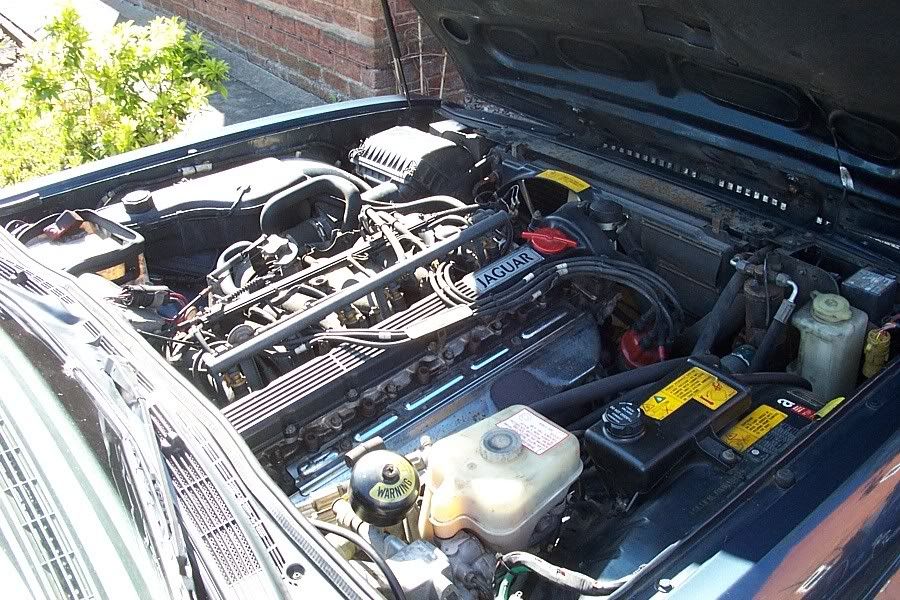
Running rich - rather smelly and an average of 17.5 mpg over 90 miles.
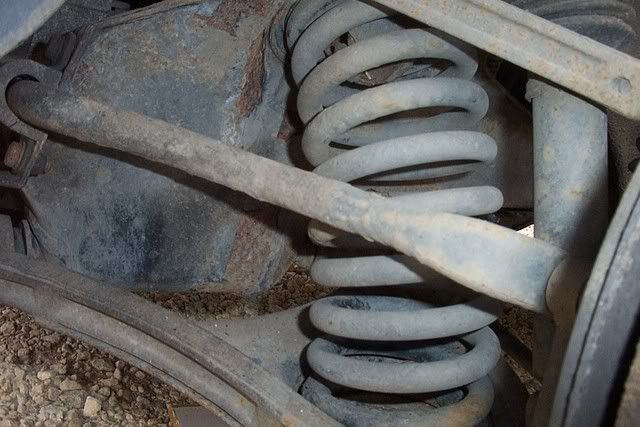
A very slight pull to the left which may be tracking or may be just camber following.
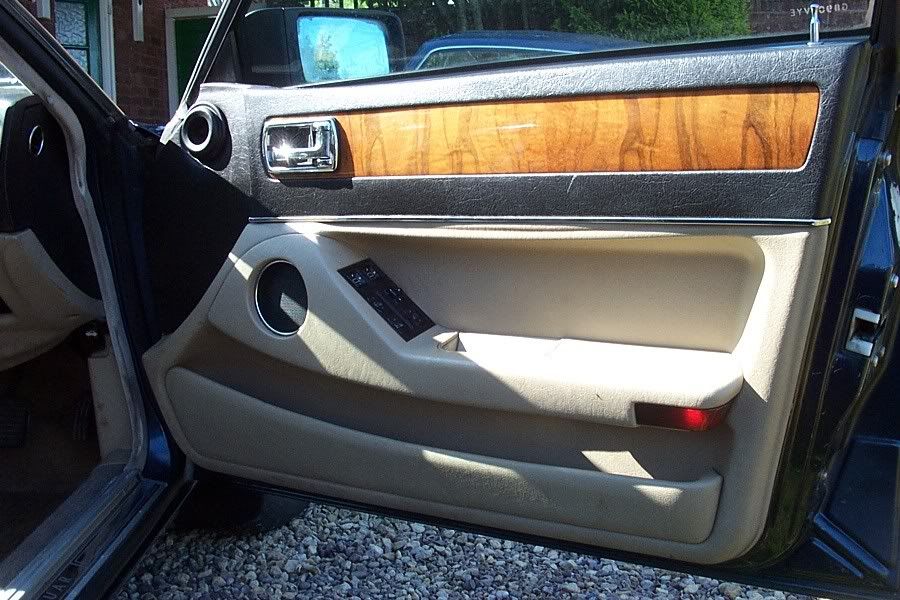
Intermittent central locking on the passenger front door.

Everything else seems to work, nothing seems to rattle and I'm chuffed. A good £250 spend by anyone's standards.

I don't plan to do much for now - I've got a restoration to finish on a 1990 Rover 800 Sterling - but would like to get the running rich sorted out. As the injection system is similar to the Lucas Hotwire, I suspect a faulty coolant temp sensor (it's always that on a Hotwire equipped Austin/Rover!) but I'm open to suggestion.
Out in the desert with a 1998 Grand Cherokee V8, 2004 Jeep Grand Cherokee 4L and a 1997 Chevy Tahoe V8. Back home: 1969 MGC GT

User avatar
Richard Moss
Site Owner
Posts: 13630
Joined: Fri Aug 29, 2008 10:48 pm
Location: Al Ain, Abu Dhabi
Contact:

Post by Richard Moss » Sat Aug 30, 2008 12:32 am

I made a start. About two hours to fit the vapouriser and gas shutoff solenoid.

Image

Image

Image

The fitting is the easy bit, it's the design work that takes the time. You have to consider the positioning of the liquid gas supply pipe, gas hose to the inlet and the hot water supply from the heater hoses. You also, really, need to position everything on the inlet side of the engine bay - LPG pipework and exhaust manifolds are not a great combination!
Out in the desert with a 1998 Grand Cherokee V8, 2004 Jeep Grand Cherokee 4L and a 1997 Chevy Tahoe V8. Back home: 1969 MGC GT

User avatar
Richard Moss
Site Owner
Posts: 13630
Joined: Fri Aug 29, 2008 10:48 pm
Location: Al Ain, Abu Dhabi
Contact:

Post by Richard Moss » Sat Aug 30, 2008 12:33 am

As promised:

I spent most of the weekend tied up with other jobs, so only got a little done on the Jag.


I plumbed in the hot water supply for the LPG vapouriser (it stops it freezing as the gas evaporates). It took a while to study the schematic diagrams of the cooling system to work out where to tap in and also a fair while looking at the car to work out the practicalities.

Image

I removed the wiper mechanism for improved access - smart move! The hot water to the vapouriser comes from the heater inlet (before the heater valve) and the return into the heater > water pump pipe.

Image

Image

It's a good idea to warm the car up to normal temps before putting it all back together again - plumbing the vapouriser into the water system introduces an additional 8 joints, any one of which could weep. However, none did and the vapouriser warms up nicely. I will probably do the tank and fuel pipe next.

I also stuck some sealant onto the perished gasket around the fuel filler neck - I think this was why there was a smell of petrol in the boot (and cabin), especially in hot weather. It's a tip picked up from either the Jaguar World or Jag Lovers forum (can't remember which).

Image
Out in the desert with a 1998 Grand Cherokee V8, 2004 Jeep Grand Cherokee 4L and a 1997 Chevy Tahoe V8. Back home: 1969 MGC GT

User avatar
Richard Moss
Site Owner
Posts: 13630
Joined: Fri Aug 29, 2008 10:48 pm
Location: Al Ain, Abu Dhabi
Contact:

Post by Richard Moss » Sat Aug 30, 2008 12:33 am

After attending to three faults on my Sterling and one on our 216 cabrio, I actually got some more done on my XJ6.

The spare wheel and carrier were removed from the boot, LPG tank straps fitted and LPG tank installed. Not a lot, but better than nothing.

Image

Image

Image
Out in the desert with a 1998 Grand Cherokee V8, 2004 Jeep Grand Cherokee 4L and a 1997 Chevy Tahoe V8. Back home: 1969 MGC GT

User avatar
Richard Moss
Site Owner
Posts: 13630
Joined: Fri Aug 29, 2008 10:48 pm
Location: Al Ain, Abu Dhabi
Contact:

Post by Richard Moss » Sat Aug 30, 2008 12:34 am

I got part of the wiring installed tonight (august 12th) - this shot shows the main ECU and injector emulator. Not having a wiring diagram didn't help - but an LPG I "know" through another forum came up with the goods by suggesting that it would be the same as AEB brand wiring, and that seems to be the case (and their wiring diagrams are readily available).

It's a 4 cylinder emulator - and as the XJ6 has 6 injectors, I'm left a little short! Still, I've been advised by our resident expert (thanks again Bernard!) that I can use half of another spare 4 cylinder emulator to make up the numbers!

Image

There's more that isn't shown - quite a few wires will need extending or replacing to fit the jag.
Out in the desert with a 1998 Grand Cherokee V8, 2004 Jeep Grand Cherokee 4L and a 1997 Chevy Tahoe V8. Back home: 1969 MGC GT

User avatar
Richard Moss
Site Owner
Posts: 13630
Joined: Fri Aug 29, 2008 10:48 pm
Location: Al Ain, Abu Dhabi
Contact:

Post by Richard Moss » Sat Aug 30, 2008 12:34 am

August 16th

I've finally managed to get the main LPG fuel line installed. I was hoping for a spell of decent weather to get the job done, but in the end I got half way there and then just got wet (well, you have to finish a job off!).

As usual, trying to work out where everything has to go takes longer than actually doing it. The LPG pipe has to be routed 30cm from exhaust pipes, no lower than the lowest point of the car structure, clear of chafing and sharp edges etc and fed through a vent tube in case of gas leaks. Avoiding twin exhausts isn't easy, but after much head scratching I found a route - and the siting of the petrol tank doesn't help, either.

Image

On the positive side, the brackets holding the factory installed fuel and brake lines had a spare slot - which means that the installation looks quite neat. The LPG pipe is the clean one in this shot:

Image

I'll get it connected up to the vapouriser tomorrow, all being well, as well as getting the filler point installed.

Whilst under the car, I thought a little preventative maintenance would be in order. XJ40's are notorious for rusting on the front subframe, leading to cracking and then the front suspension just floats about in the breeze (not good for steering accuracy!). Mine was good, with just a little superficial corrosion so was treated to a clean off and paint over with my favourite product - smooth Hammerite. Not the prettiest paint job ever, and a bit of a distraction from the job in hand, but saves doing it again later.

Image
Image

After (in case you hadn't guessed!):
Image
Image

Rear for good measure:
Image

There's some evidence of a small PAS fluid leak on the steering rack, so that will need watching.
Out in the desert with a 1998 Grand Cherokee V8, 2004 Jeep Grand Cherokee 4L and a 1997 Chevy Tahoe V8. Back home: 1969 MGC GT

User avatar
Richard Moss
Site Owner
Posts: 13630
Joined: Fri Aug 29, 2008 10:48 pm
Location: Al Ain, Abu Dhabi
Contact:

Post by Richard Moss » Sat Aug 30, 2008 12:35 am

August 23rd

It's been one of those days. First I find that the ECU on my LPG kit appears to have a problem and won't switch on the gas supply, and that probably means that the ECU controlled vapouriser won't work. Given that it's a bit of second hand Italian electronics, I suspect that it's beyond saving. So, I'm now going to have to improvise an alternative wiring scheme - not too tricky, but I could have done without it - and use a vacuum controlled vapouriser.

Then I decided that if I couldn't get the LPG up and running I would at least have a go at sorting out the oscillating idle speed. Unfortunately, I found that some ham fisted plonker in the past has managed to round off the idle bypass adjuster screw.

Not content with that, fate decided to throw what looks like either a faulty mass airflow meter or faulty MAF wiring (often a problem on these as there is a nasty 90 degree bend in the wiring which can lead to breaks) - easily done as it gets moved around when ever you do anything on the induction system. So now it hunts more, won't rev properly and misfires badly. Disconnecting the MAF wiring plug makes the car run smoother but rich - again pointing to a faulty MAF meter or MAF wiring.

Bugger.

So plan B:

See if I can find the fault with the MAF meter/wiring.
Have another go at the idle speed.
Fit my spare non-ECU controlled LPG vapouriser and improvise some wiring.

I also need to find some method of killing either the injectors or fuel pump for when running on gas.
Out in the desert with a 1998 Grand Cherokee V8, 2004 Jeep Grand Cherokee 4L and a 1997 Chevy Tahoe V8. Back home: 1969 MGC GT

User avatar
Richard Moss
Site Owner
Posts: 13630
Joined: Fri Aug 29, 2008 10:48 pm
Location: Al Ain, Abu Dhabi
Contact:

Post by Richard Moss » Sat Aug 30, 2008 12:35 am

August 25th

A much more successful day today - and it's fair to say that the Moss household is a much happier place now.

First I sorted the idle problem. I removed and cleaned the throttle body (and it was pretty gungy) before tackling the EICV.

As I suspected, the adjuster screw had been completely mangled and I had to drill it out - leaving just the plunger. I used a plastic nut and a long screw to rebuild it and it works. I noticed that there's a chap selling a used on on ebay for £90 - so I'm quite pleased with myself.

Image

Image

The MAF fault turned out not to be a fault at all, just the fact that the LPG mixer (installed in front of the throttle body) was too small and restricted the airflow into the engine to such an extent that it ran ridiculously rich. I found a bigger one and now all is well.

I found that the vapouriser I had would not work due to the faulty LPG ECU, so I had to change it for a mechanical one I had in the shed - and it all works! The wiring can best be described as just being at the "prototype stage" but will be sorted tomorrow if the rain holds off.

Image

Here's a picture of it running on gas!

Image
Out in the desert with a 1998 Grand Cherokee V8, 2004 Jeep Grand Cherokee 4L and a 1997 Chevy Tahoe V8. Back home: 1969 MGC GT

User avatar
Richard Moss
Site Owner
Posts: 13630
Joined: Fri Aug 29, 2008 10:48 pm
Location: Al Ain, Abu Dhabi
Contact:

Post by Richard Moss » Sat Aug 30, 2008 12:36 am

Mechanical vapouriser fitted:

Image

Wiring tidied up:

Image

Fuel pump relay (near grubby finger) tapped into to cut fuel and injectors:

Image

I fitted a changeover relay to cut the fuel pump/injector supply. This is a "Normally Closed" (NC) relay which energises open when switched. Because the gas cutoff solenoids take a fairly high current, I've used the switch to trigger a second relay which opens the solenoids.

It seems to do the trick - but I do need to tweak the gas settings because the idle speed's a bit high.
Out in the desert with a 1998 Grand Cherokee V8, 2004 Jeep Grand Cherokee 4L and a 1997 Chevy Tahoe V8. Back home: 1969 MGC GT

User avatar
Richard Moss
Site Owner
Posts: 13630
Joined: Fri Aug 29, 2008 10:48 pm
Location: Al Ain, Abu Dhabi
Contact:

Post by Richard Moss » Sat Aug 30, 2008 12:37 am

It will come as no surprise to anyone who's owned an XJ40 to hear that one of my heater blowers is only working on max speed, so I get no air at all at low and medium settings. Thanks to some research on www.jag-lovers.org , I've diagnosed it as a (probable) failure of the speed control resistor and have ordered the required parts from Maplin (my local shops didn't have them in stock).

The parts required are:

Darlington transistor 2N6284,
a 68 Ohm 2.5Watt resistor,
a 1N5401 diode
and a small glass diode, probably 1N4148 or 1N914

To play safe, I ordered both types of glass diode and bought two of each resistor and diode (they only cost a few pennies each).

Dismantling the heater showed the circuits to be in fairly poor shape, so I'll need to clean it all up, replace the components and thoroughly re-solder the whole lot. I'll take more pictures as I go.

Image

Image
Out in the desert with a 1998 Grand Cherokee V8, 2004 Jeep Grand Cherokee 4L and a 1997 Chevy Tahoe V8. Back home: 1969 MGC GT

User avatar
Richard Moss
Site Owner
Posts: 13630
Joined: Fri Aug 29, 2008 10:48 pm
Location: Al Ain, Abu Dhabi
Contact:

Post by Richard Moss » Sat Aug 30, 2008 12:37 am

After removing the under dash trim, unclip the relays from the side of the blower, along with the vacuum line to the recirc actuator and undo the two electrical multiconnectors to the right of the blower - this will give better access for removing the blower. If you follow the wiring from the blower itself, you will find two multiplugs - one round, one flat - which need to be unplugged.

Image

You'll need a 10mm socket and long extensions to undo the two mounting bolts - which are tucked out of the way! You may also need to undo the 13mm nut that supports right hand steering column brace if you find space a bit tight when removing the blower unit.

Right hand side:
Image

Left hand side:
Image

The blower unit may be rotated clockwise and down. This will allow you to remove the unit and separate it from the flexible duct which connects it to the main heater unit (this duct isn't easy to connect - it may be better to remove it and reinstall it already attached to the blower).
Image

The dodgy electronics live under this panel which is held on by 4 rivets - the picture shows the "after" shot, with self tapping screws replacing the rivets:
Image

The speed control PCB can now be rotated out of the blower to be repaired - you don't need to split the blower unit:
Image
Image

If you do want to split the unit, there are two screws and half a dozen clips holding it together:
Image
Image

The Darlington transistor is held on by two bolts (with insulating washers) as well as being soldered to the PCB. At this point, I have to confess that as the new small diodes looked different from the originals, I chickened out when it came to replacing them - I just de-soldered them, cleaned the contacts and soldered them back! I did, though, replace the big diode and the Darlington resistor:

Image
Image

Reassembly is the reverse of the above - I chose to check the function before bolting it all back together.

Hope this helps anyone who has to do the job.
Out in the desert with a 1998 Grand Cherokee V8, 2004 Jeep Grand Cherokee 4L and a 1997 Chevy Tahoe V8. Back home: 1969 MGC GT

User avatar
47p2
Moderator
Posts: 1413
Joined: Sat Aug 30, 2008 7:04 am
Location: Caledonia
[phpBB Debug] PHP Warning: in file [ROOT]/vendor/twig/twig/lib/Twig/Extension/Core.php on line 1266: count(): Parameter must be an array or an object that implements Countable

Post by 47p2 » Wed Sep 03, 2008 8:09 pm

You're doing a grand job there Richard....When are you starting up www.xj40.info :shock:
JT
Image


...........Image

User avatar
Richard Moss
Site Owner
Posts: 13630
Joined: Fri Aug 29, 2008 10:48 pm
Location: Al Ain, Abu Dhabi
Contact:

Post by Richard Moss » Wed Sep 03, 2008 8:38 pm

There's already www.xj40.com - which isn't bad, even if it is nearly as quiet as Doug's site!

It's only been going a couple of months - but of course there are far fewer XJ40s than Rover 800s.
Out in the desert with a 1998 Grand Cherokee V8, 2004 Jeep Grand Cherokee 4L and a 1997 Chevy Tahoe V8. Back home: 1969 MGC GT

User avatar
Kyle
Rover Guru
Posts: 1960
Joined: Sun Aug 31, 2008 7:48 pm
Location: Manchester
[phpBB Debug] PHP Warning: in file [ROOT]/vendor/twig/twig/lib/Twig/Extension/Core.php on line 1266: count(): Parameter must be an array or an object that implements Countable

Re: Rich Moss 1990 XJ6 2.9.

Post by Kyle » Thu Sep 04, 2008 11:42 am

richard moss wrote: I removed at least a bucket full of mud from under the wings and arches (no exaggeration) and found the arches to be in good nick.
This was a similar story on my new micra, in all honesty i dont think anybody had ever cleaned out the arches on it. A few cut fingers later and my arches are now also clear. Being completely rust free at the moment hopefully this will preserve them for a bit longer. Having said that the car is 16 years old, and the mud being there hasn't so far caused any rust, so I'm not entirely convinced that it promotes rot?

User avatar
Richard Moss
Site Owner
Posts: 13630
Joined: Fri Aug 29, 2008 10:48 pm
Location: Al Ain, Abu Dhabi
Contact:

Re: Rich Moss 1990 XJ6 2.9.

Post by Richard Moss » Thu Sep 04, 2008 12:33 pm

Kyle wrote: so I'm not entirely convinced that it promotes rot?
It does if it's wet! The mud in kine was so thick that the stuff nearest the metal was staying dry.
Out in the desert with a 1998 Grand Cherokee V8, 2004 Jeep Grand Cherokee 4L and a 1997 Chevy Tahoe V8. Back home: 1969 MGC GT

Post Reply
[phpBB Debug] PHP Warning: in file [ROOT]/vendor/twig/twig/lib/Twig/Extension/Core.php on line 1266: count(): Parameter must be an array or an object that implements Countable

Who is online

Users browsing this forum: No registered users and 2 guests