The inspiration for this was what Rolls-Royce did with the Phantom, launched in January 2001 and then the special edition Phantom Celestial 10 years later - in their words a "Showcase Car" to show what they could do with adding various different items, trim and so forth.
I don't have the budget of Rolls-Royce or teams of engineers to do all the various mods so progress, of necessity, has been slow - painfully slow at some points!
I'm not seeking to recreate a Phantom Celestial in a Rover 800 body, more my interpretation of what Rover might have done if they'd made a similar showcase car.
To fully embrace that ethos, many items have been done on a budget, exactly as they would have been done in the factory. As for a diamond studded headlining - forget it! Not even cubic zirconia!
Besides, it was meant to represent the sky at night over Goodwood when the Phantom Celestial was launched - i reckon Rover got it right with the OE headlining on virtually all models - the sky over Cowley is generally grey thanks to the weather!
By no means at all is it anywhere near finished yet. This is to introduce my project and update it to the state it's at now and at various times in the future. As such, it's still very much a "Work in Progress" and is likely to remain so for some time to come.
It might not be to everyones taste and will almost certainly upset the purists, however the car does get used and to that end i want it to be unique to me with certain enhancements and improvements that while they might not be immediately apparent, still offer an improvement on standard.
So far, this is what has been done in terms of upgrades/improvements :
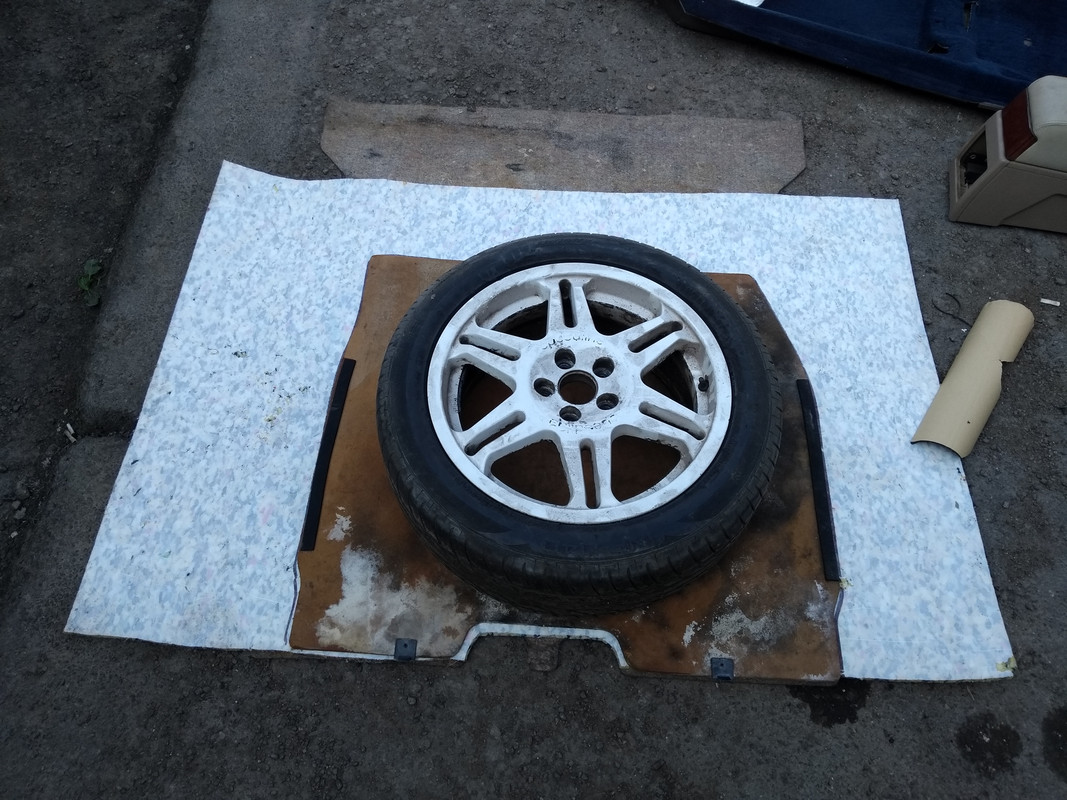
6.5J x 16" wheels - necessary because the original wheels were damaged by "while-u-w8" tyre places using windy guns
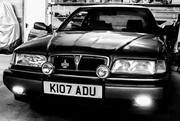
LED headlight bulbs
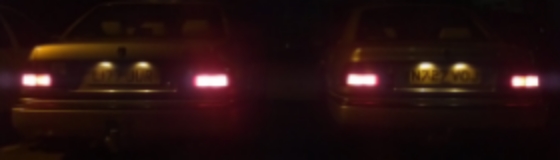
LED tail light bulbs (Brake lights now stop/tail as well)
LED reversing lights
Front indicator LED DRL conversion
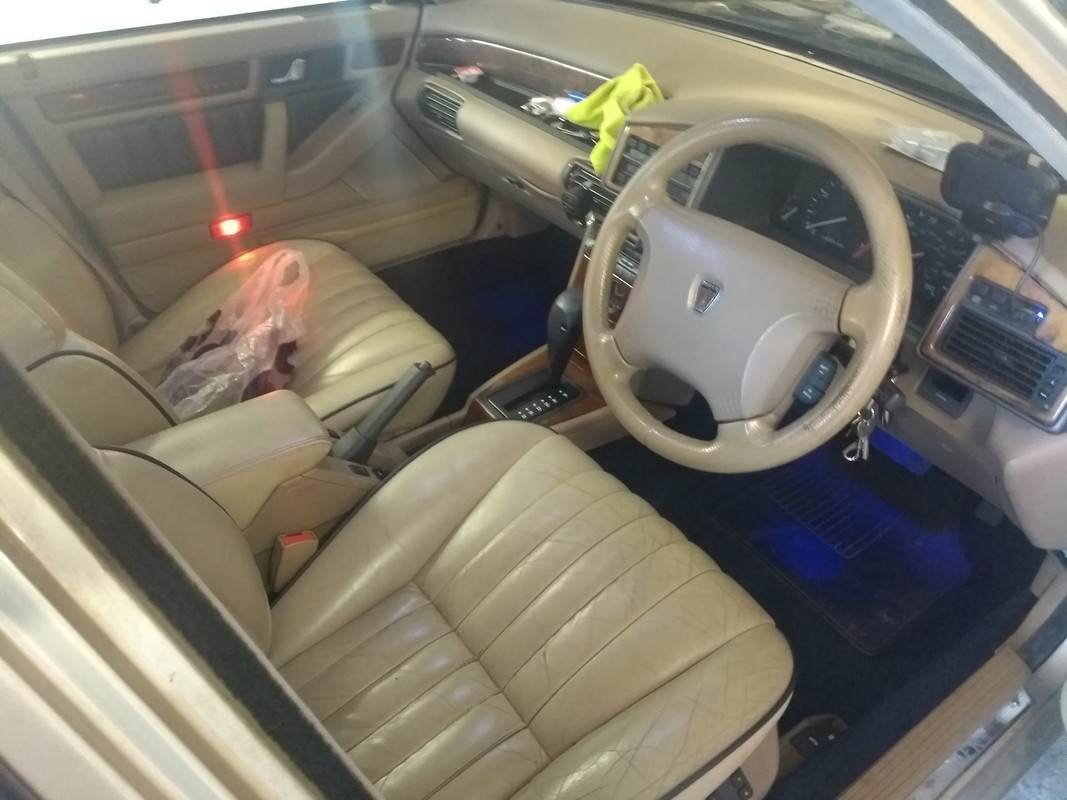
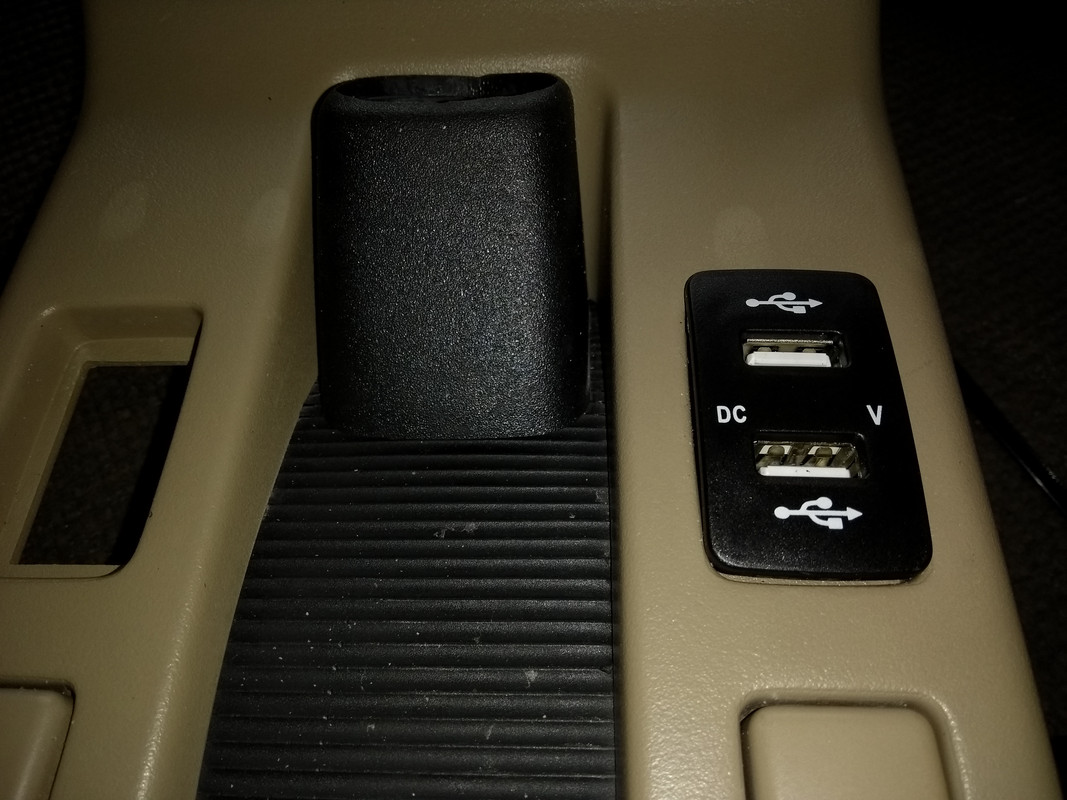
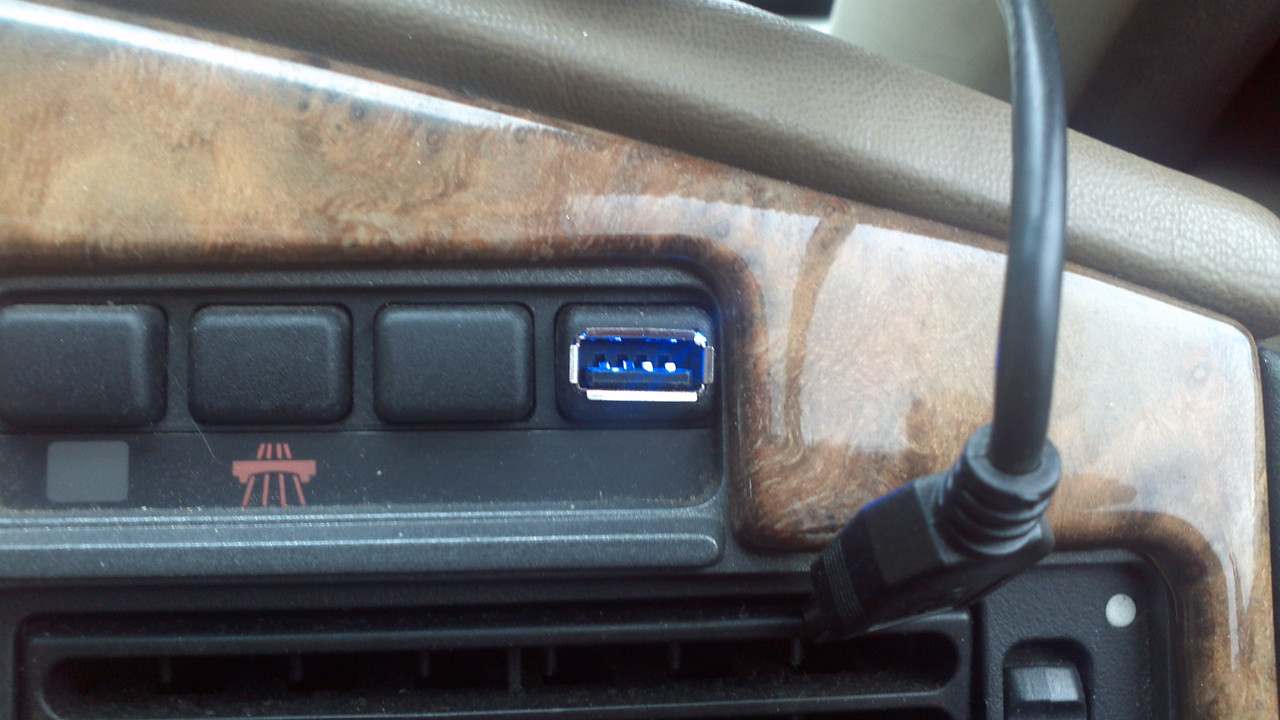
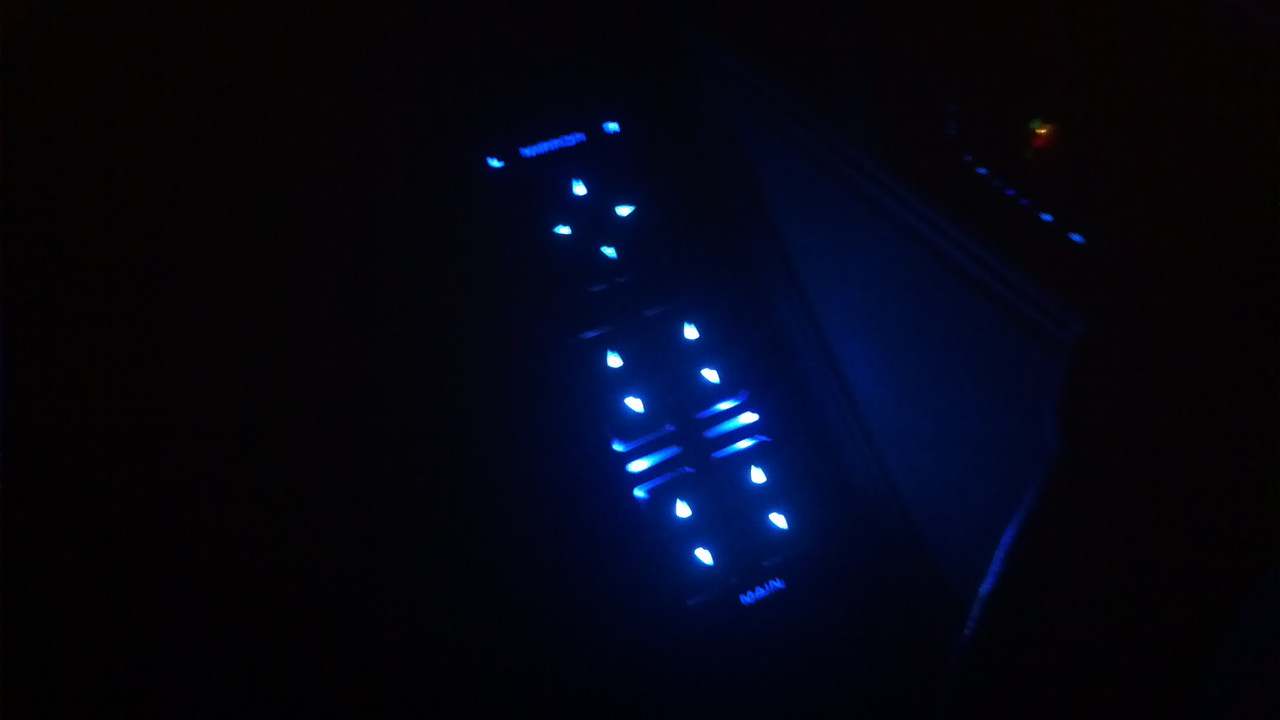
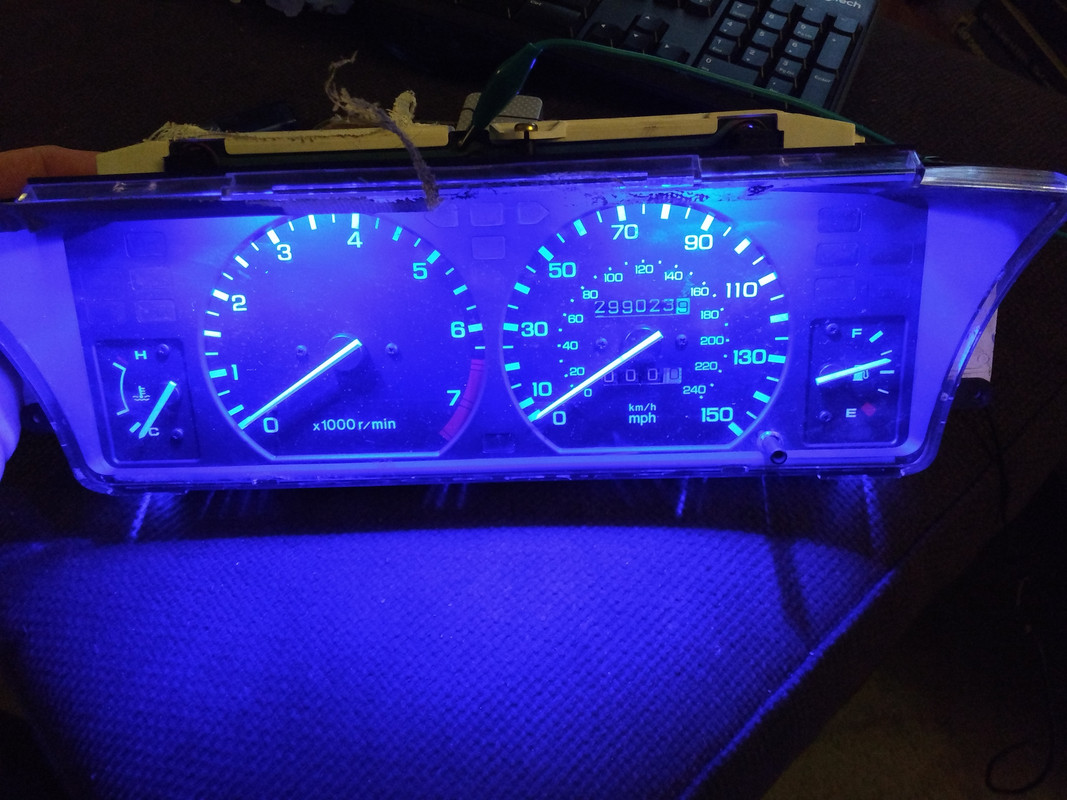
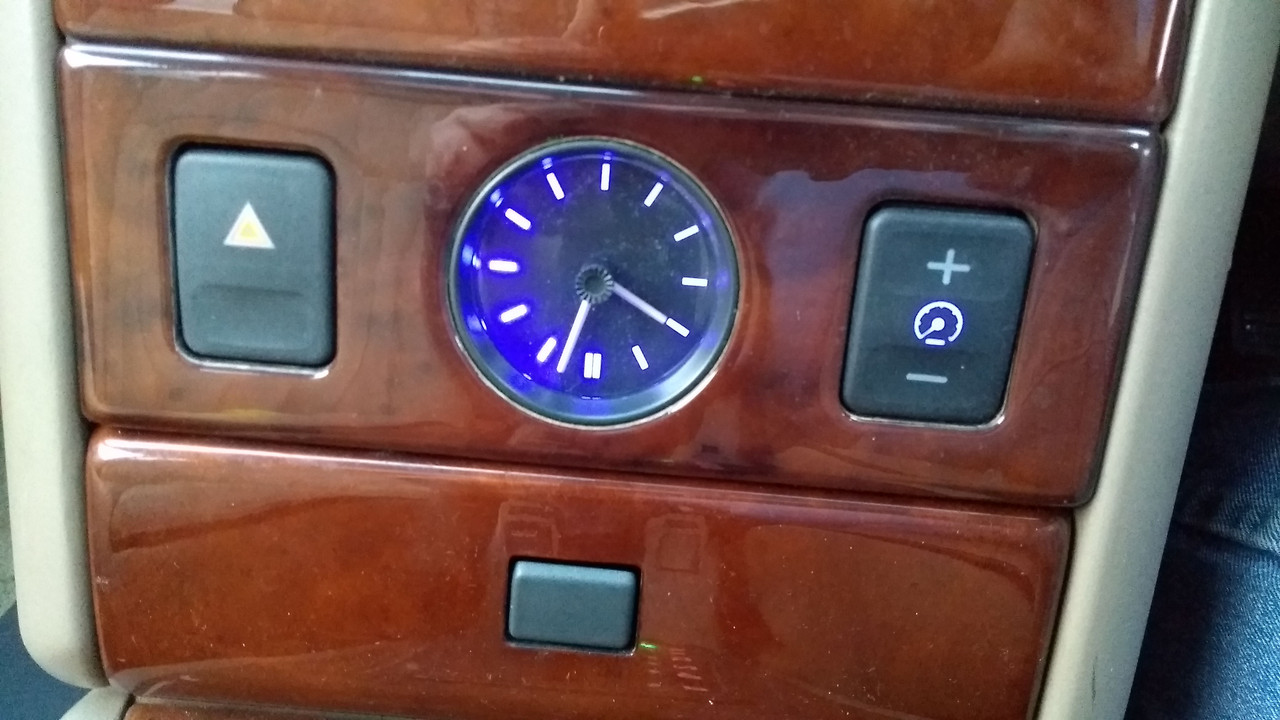
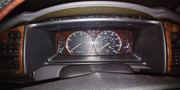
Interior lighting now by LEDs including instruments, switches, footwell lights etc
Later Stone Beige window switch cases and LED window switch illumination
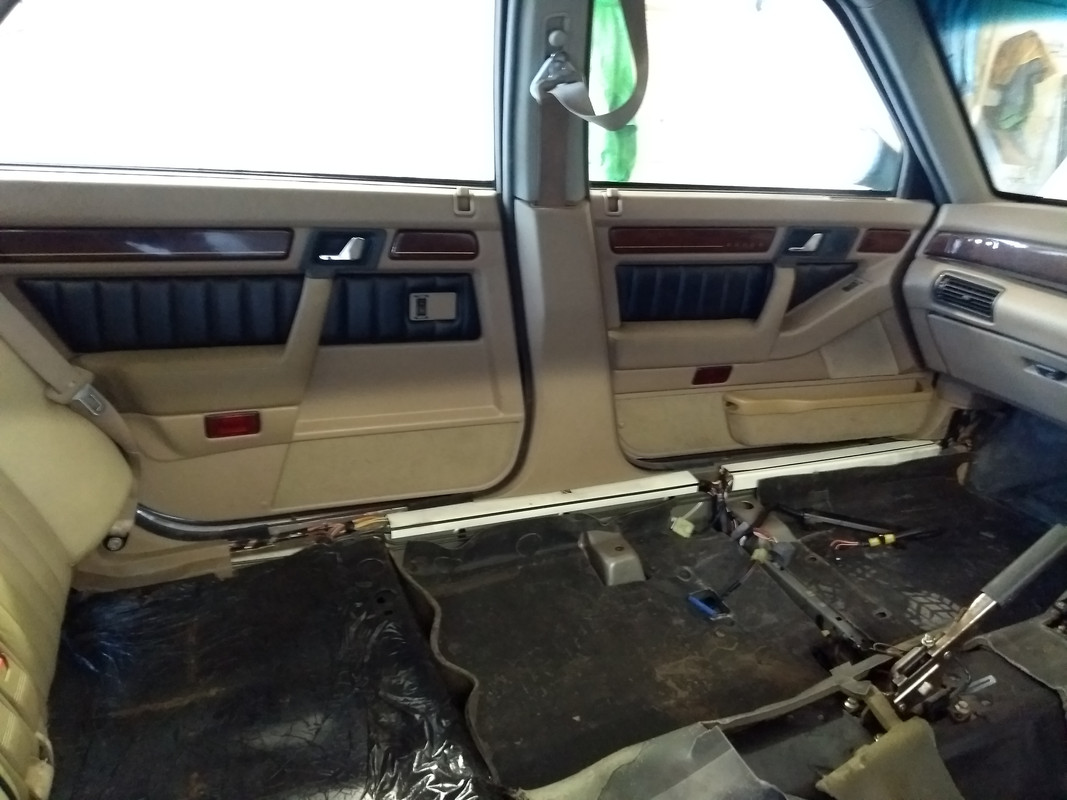
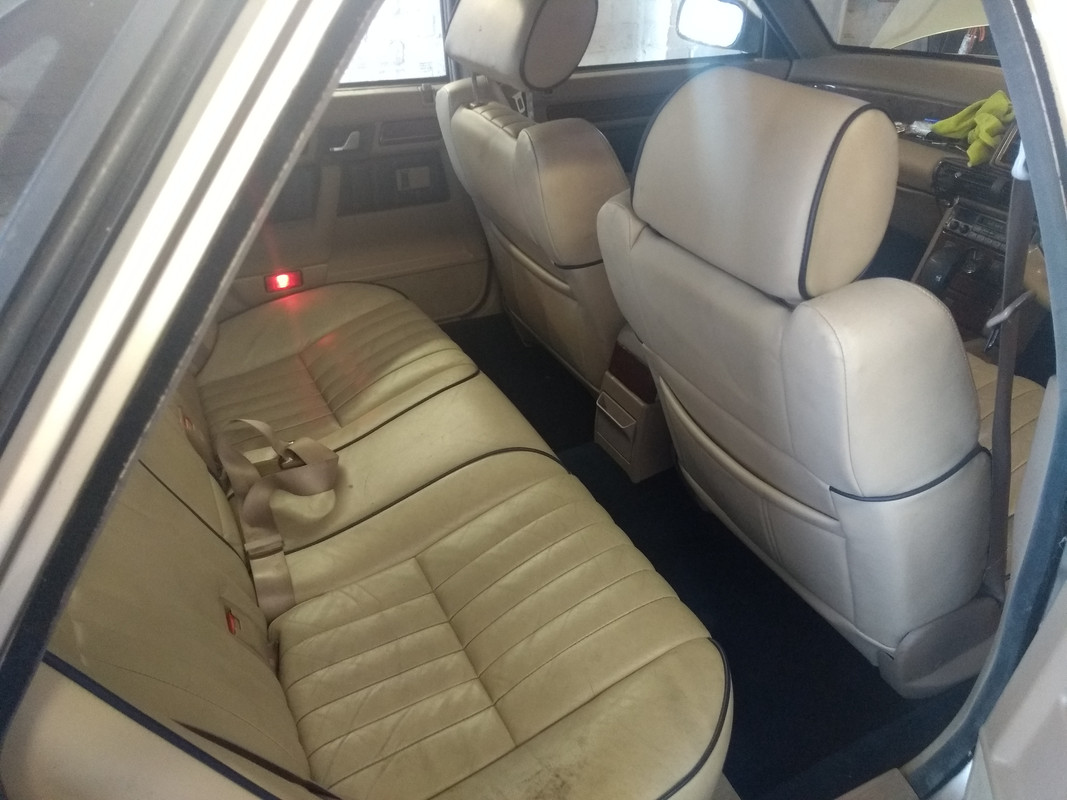
Later Stone Beige/Blue piped heated seats
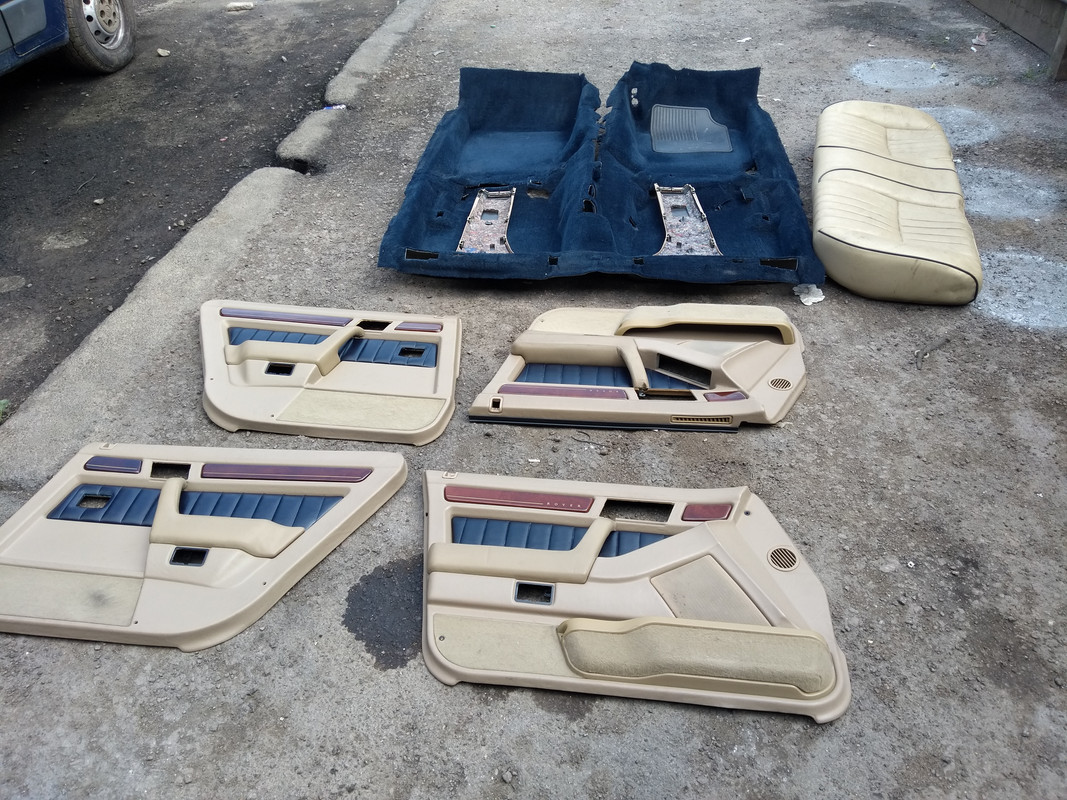
Prussian Blue carpet (ex Mk1)
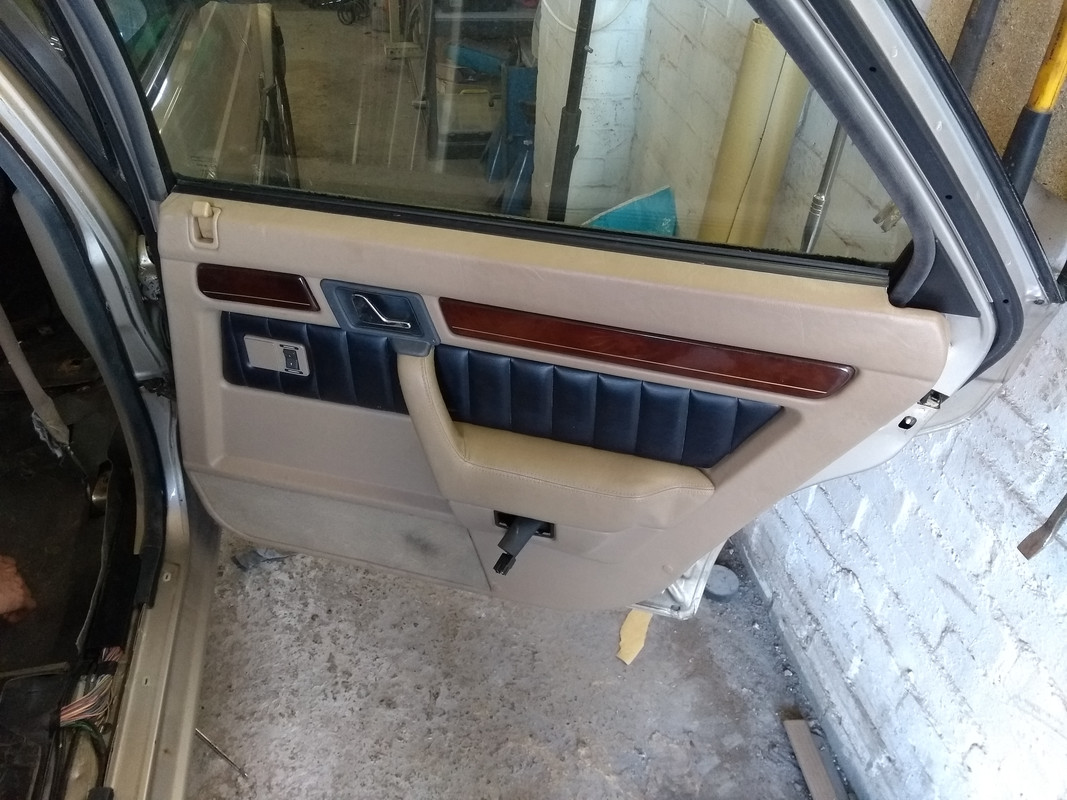
Blue leather door card inserts on later Sterling spec door cards
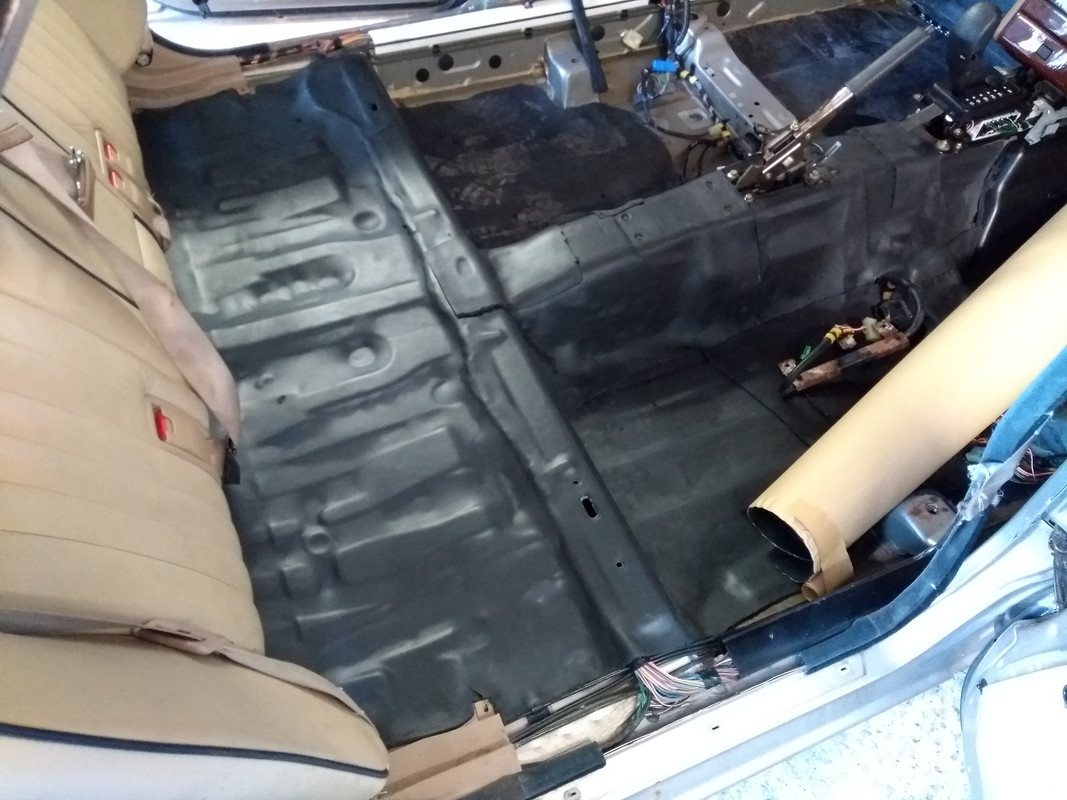
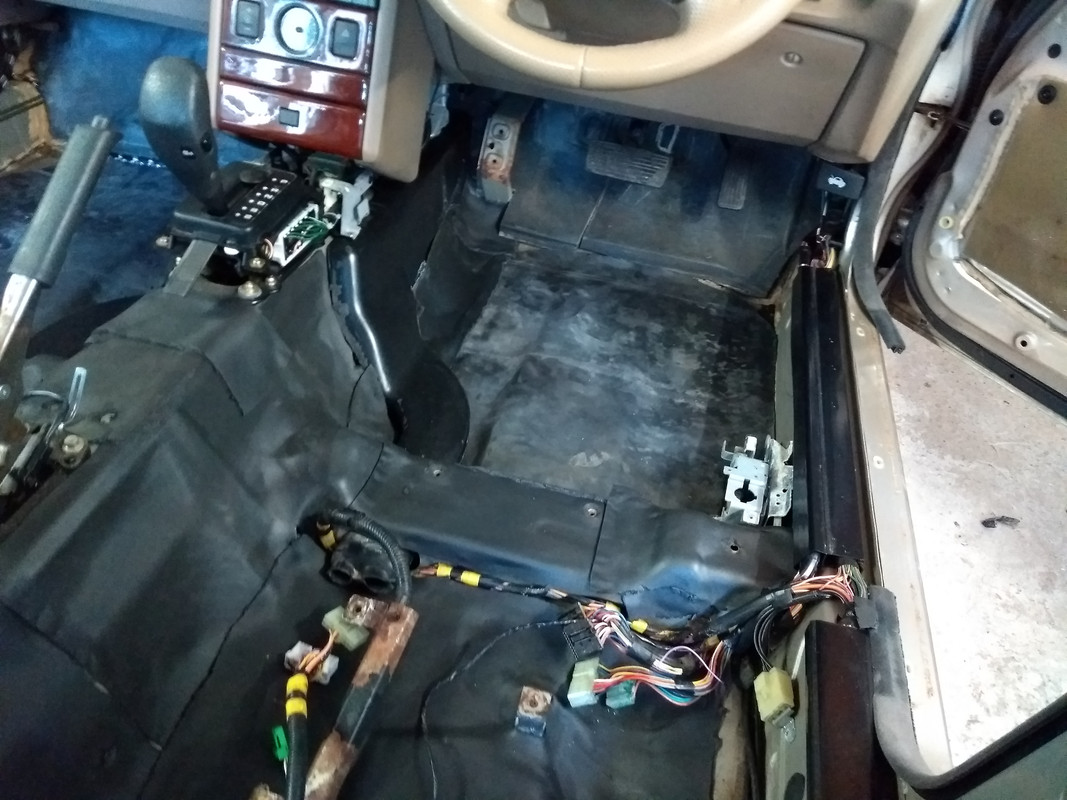
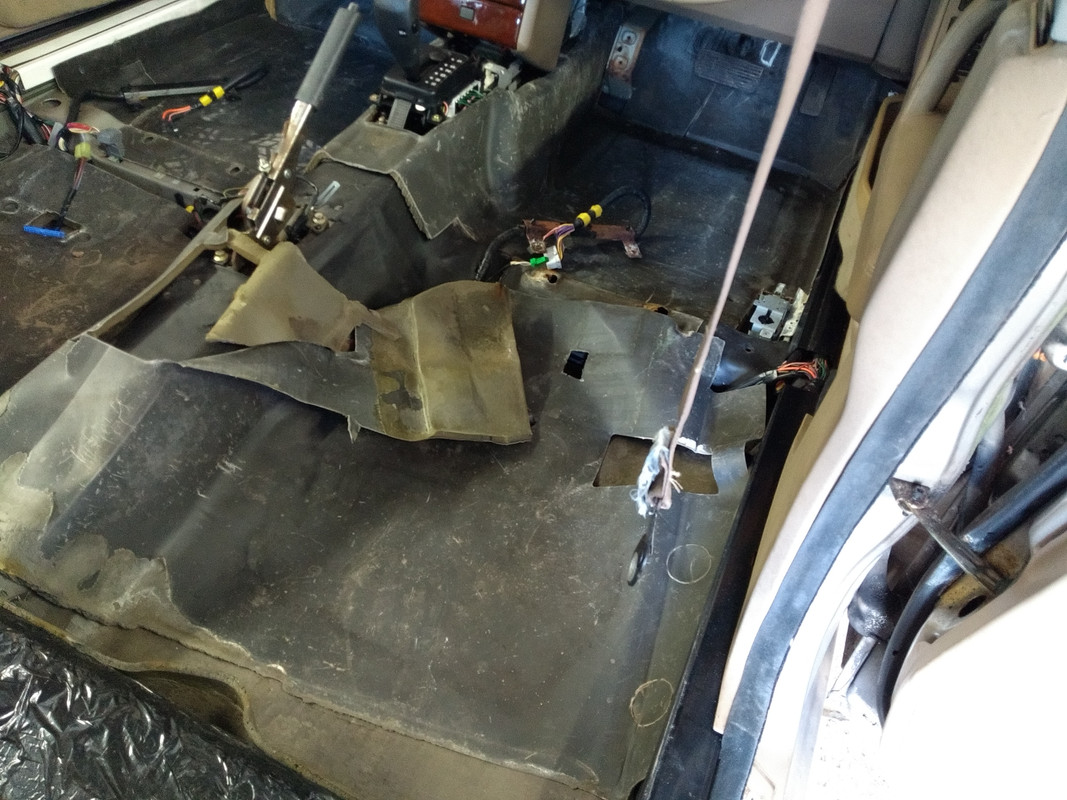
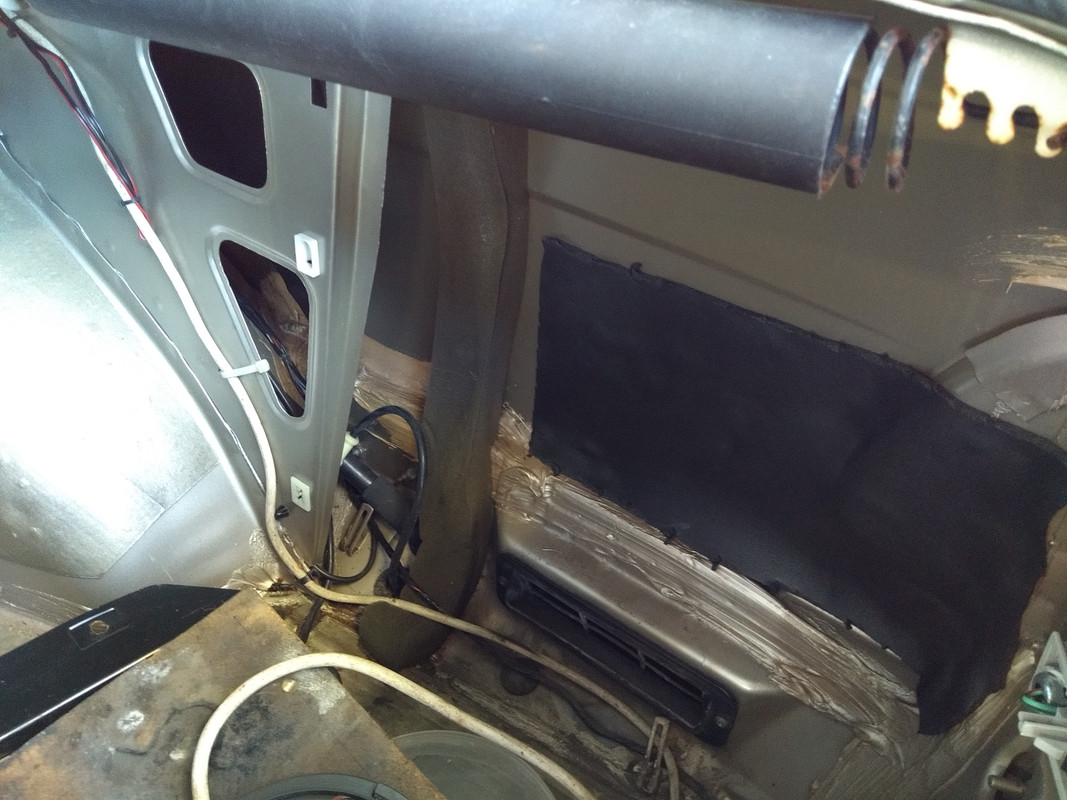
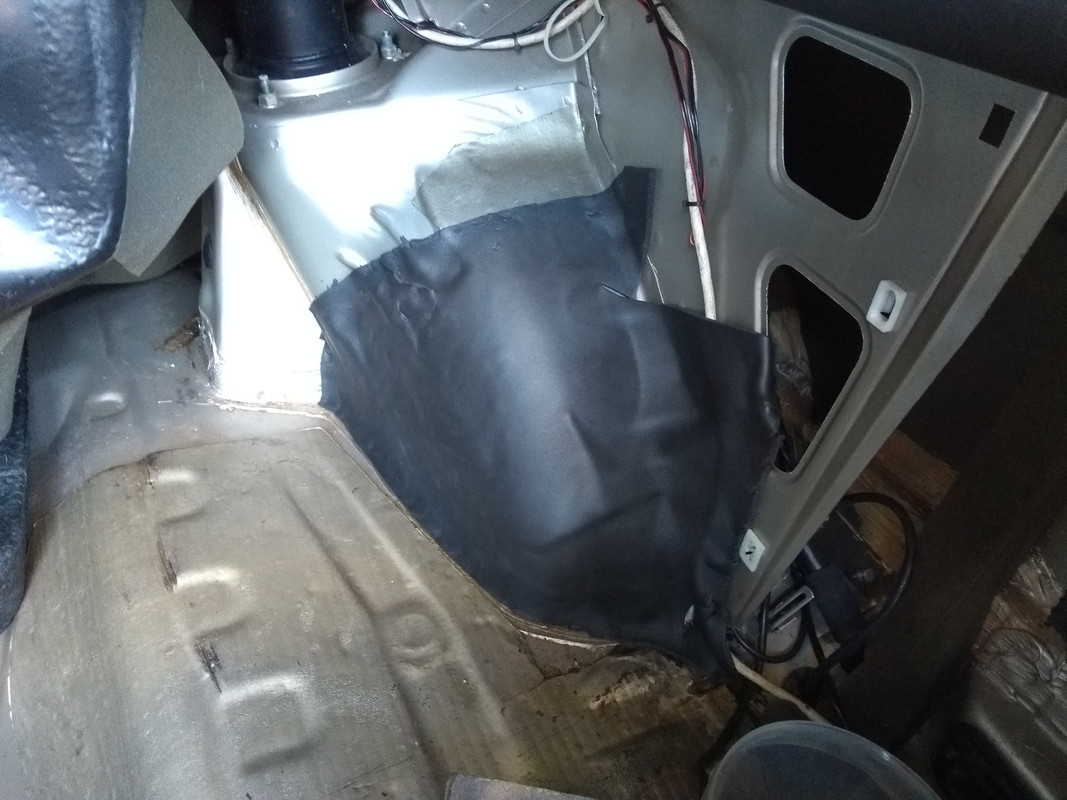
Extra soundproofing
Hidden amplifier for rear uprated speakers
Front uprated speakers
Remote Control (Steering wheel mounted) for stereo
Alarm/immobiliser (RF) with visual confirmation of arm/disarm and remote boot release (not yet wired the boot release)
Probably missed a few bits there but here's a list of planned mods to add to the overall effect :
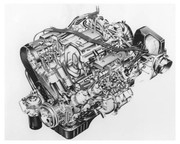
LPG conversion - multipoint to minimise power/economy losses
Mk1 sunroof panel
Vinyl roof covering
"Floating" centre caps on wheels
Hidden cup holders
There are a few other bits as well but not going to give all my ideas away just yet!
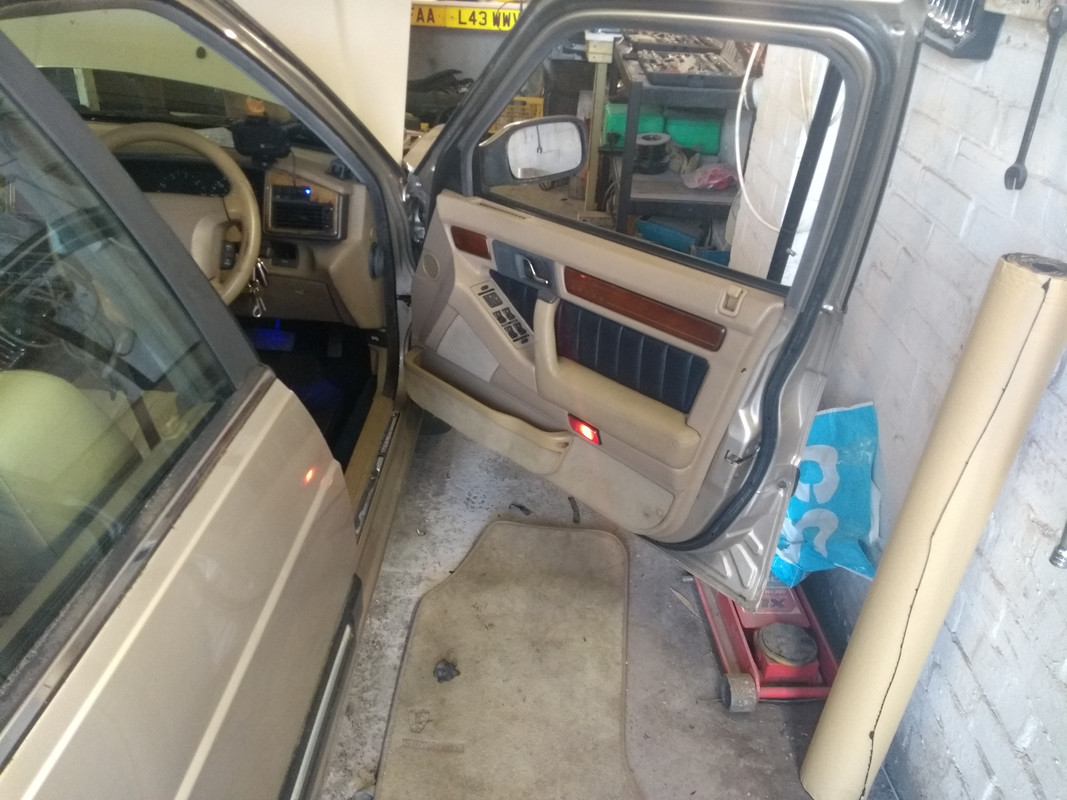
Some photos to follow, mainly of the soundproofing and interior as they are the most "visual" of the improvements.